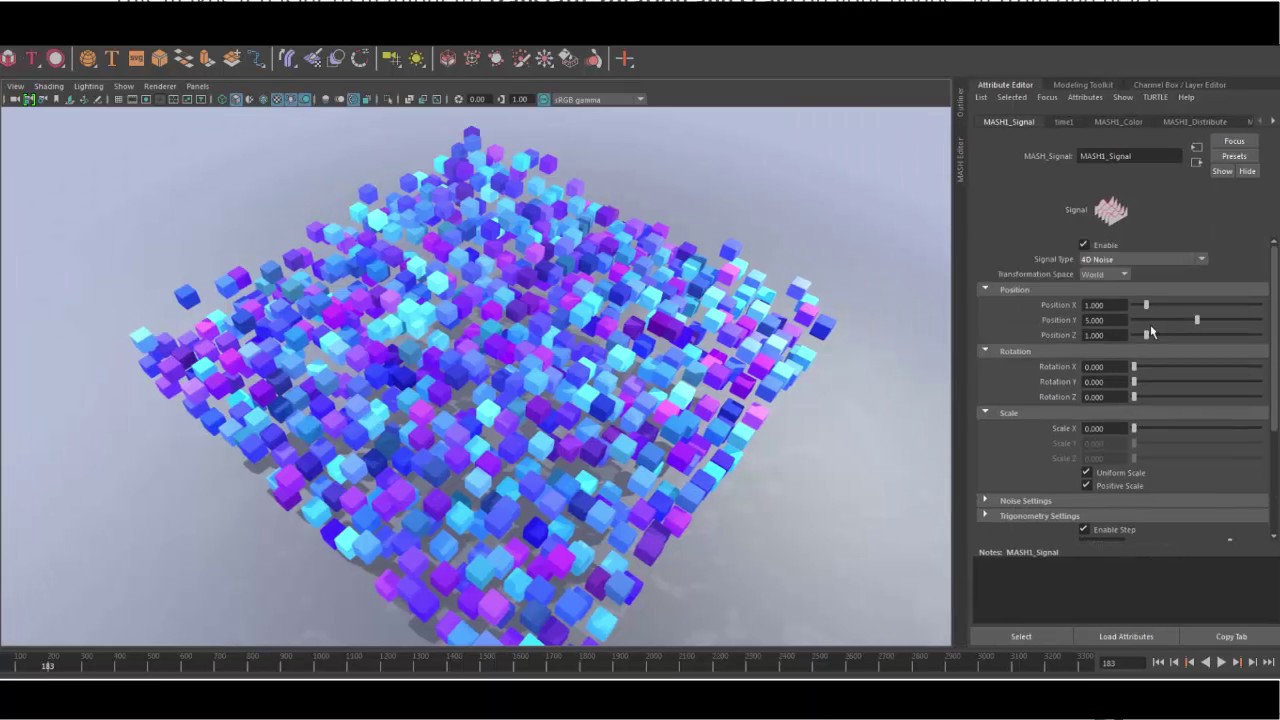
 *Procedural Animation from the MASH plug-in for Maya.* *Note that the week before this post was Spring Break, the reason behind the date not matching up.* Approach: This week I began to examine the relationship between my work and the comparisons that could be made between the theoretical implications of the animated short based on audience reaction. I utilized some MEL/Python scripting from Maya's website that utilizes the MASH (procedural animation) plug-in to create large bodies of physics objects. I also started to create a chart for another class assignment that had us question the meaning behind our choices, and made use of other classmates to see how they approached their own research. We also had a visiting animator, JP Sans from DreamWorks Animation, who had us complete a 4-hour workshop of his that he happens to teach on CGTarian.com . Overall, HE WAS AMAZING. I have never seen an individual have a more beautiful presentation and have it so well planned out that I was actually engaged in learning for 4 hours straight. After the end of the sessions, I ACTUALLY felt smarter than when I had walked in. We went out for drinks and dinner afterword, and on Sunday had him look at our short for out Production Animation class. He has worked on everything from Ice Age, to Rio, to The Last Guardians. I SINCERELY hope he comes back again. Choices Made: I didn't use my time to the best of it's ability this week on creating assets for the short, but I did happen to create and utilize the tutorials from the previous week on how to create assets more quickly than if I modeled them piece by piece. I eventually went into the MASH tab of Maya as well and found that it would be extremely beneficial to my research. Mostly, MASH is used for particles and large body containers of objects. It's very fast as well, making the time needed for creating a large pile of pills for my short be a breeze instead of placing each individual object. https://knowledge.autodesk.com/support/maya/learn-explore/caas/CloudHelp/cloudhelp/2016/ENU/Maya/files/GUID-5F45C398-D87D-424E-9F00-51D9FAB5A40B-htm.html *This link leads to the MASH section of Maya. * After doing some more research, I learned that MASH is used for procedural animation and hasn't necessarily been used often yet, but many people are starting to catch on and realize the potential of the effects. Relevant Sources: I didn't find many sources to utilize effects and create new assets for the short. But I did find sources pertaining to the reasoning behind my research. I will include these as files of the downloaded PDF's. I found a particular existential philosopher from Australia with the last name "Lippit" who has done research about existential laughter. I dug deeper and also found someone who cited Lippit and used his basis of existential laughter as an analysis of the ethical impact and satirical exaggerations of the "Simpsons".
Questions Raised & Needs:
Next Steps: Work more on the project this coming week. Create more assets and play around with Toon-shaders again to see if I feel like they are still viable in the visual development of the short. I have also considered asking my other graduate students their suggest on which render looks more visually appealing; I am apprehensive that they will pick the Arnold shading, but I also want to explain to them that this isn't necessarily meant to look as realistic as possible but only to look different than Chuck. I also have some readings to complete for the following week assigned for class. I'm glad for them at the moment, they provide a large variety of helpful and uplifting information about the animation medium. I also feels like it gives me more of a chance to work on my own things rather than spending too much time finding articles about what I might work on and consider to be useful. -Taylor Olsen
*My horrible video of Pamela Z explaining about "Timbre" in sound.*
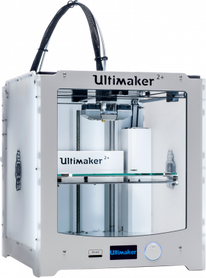 *The Ultimaker 2+* *The Ultimaker 2+*
Approach:
This week I was involved in the creation of different assets for Human Tech at ACCAD. It involved creating and utilizing humane technologies. In the definition of this term, it states that the technology it involves is safe for everyone to try and experience using; I can attest that this is true for the most part. Some of the tech that could be used by the students and faculty were almost too complex for one to fully understand the initial uses and boundaries of what was being showcased, or the exact opposite to get anywhere at all. Pamela Z was a visiting person of interest this week, and she showcased her MIDI Ultrasound 'theremin-like' musically astounding pieces. Alan Price and Matt Lewis showed off a robot "pet" that vibrates and moves based on touch and can be controlled using set-driven keys in Maya, and then sending that information over to Unity for further experimentation and key-frame animation. They also utilized a MEL-script for Maya that allowed for the creation of 3D-printed Zoetropes. These Zoetropes would then be placed under a strobe light; and depending on the frame rate of the animation and the print, the strobe could be adjusted to either match and create an optical illusion of the animation playing, or the illusion that it was playing in reverse. It usually worked better when it was in the dark, making the exaggeration of deliberate strobe-light along with the spinning print easier to see. The animation itself could range anywhere from 2-30 frames. Most students stuck with 30, as it allowed for more time to see the animation play out, and extra key-frames for a clearer sense of motion. The script would place the animated object around the platform on the bottom, and would allow for changes if necessary. Some prints came out okay, others were a little hard to manage, as they were too small to print, or you couldn't necessarily see what was happening without a magnifying glass (as they were smaller than the palm of a hand). The software used was CURA for the Ultimaker 3D printer, and Maya OBJ's were exported and imported into the CURA software.
*[Left] A reference example of the 3D-printed Zoetrope. [Right] A video of Pamela Z performing.*
*Similar instances occurring during Human Tech week at ACCAD.*
Choices Made:
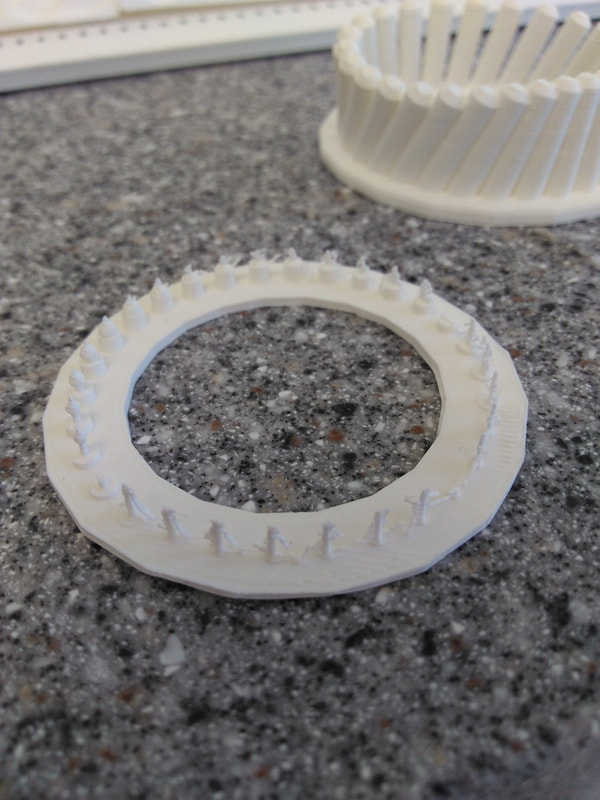
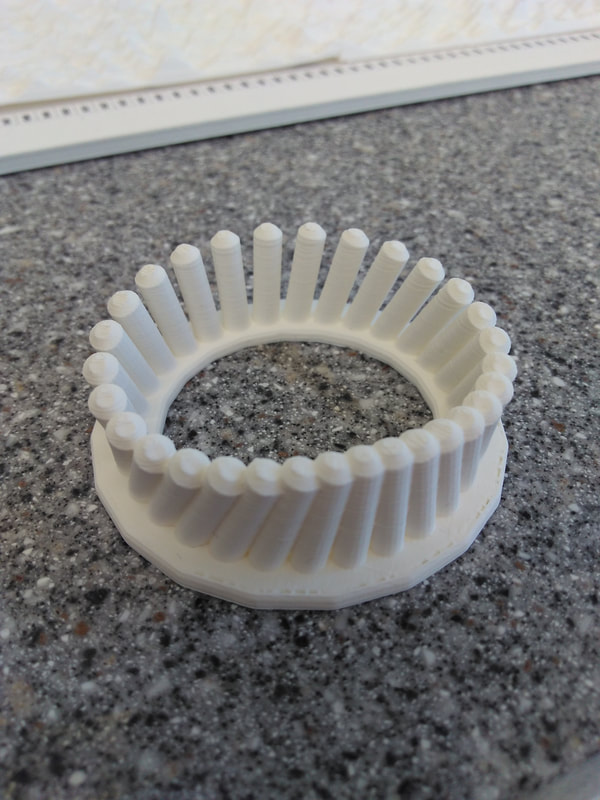
While most of this was going on, I was also assigned with the task of creating another proposal. This one is for the last 6 weeks of the semester, and requires us to either continue forward with an existing project, or stop and create a new project outline for ourselves. I have ultimately decided to continue with this project, as when discussing with Maria Palazzi about the possibility of where my idea should be going she mentioned to not worry about others being responsive to your ideas. Sometimes it is better to ask your own questions to them in order to drive the conversation to a point that you know is going to be beneficial to yourself and your work. It will also give me a good chance to go back and assess my notes in greater detail and give me a chance to create more in Maya and After Effects, as well as merge the two. We also had a choice to pick between doing assignments for Alan's Humane Tech projects for the week. Or to do collaborative work and create storyboards for the Theatre team. I felt like I had enough experience creating storyboards for other people and for myself, that I would tackle something more technical but also related to my area of study in experimental animation. At first I printed a model that didn't look anything like I had thought it would, this is because it was too small for the first print, and didn't hold up well with the plastic. It was streaking across the small structures, and when attempting to cut off the small fissures, it would break the model in two. When looking back at Alan's original model, (as seen on the top of the tower of models), the pieces are touching each other and are combined to give a better area to print. In the videos below, you'll see the rotation of the pieces and the possible prints I wanted to try out. I only decided to do the initial design (the ball with the cylinder with spaces between it) and the final one (undulating cylinder). The final design allowed for a smooth print along with the ability to more easily adjust what I wanted they cylinder to animate.
*[Left] The different Zoetropes I attempted. [Right] The somewhat funny combination of all my Zoetrope attempts.*
*[Left] My first attempt at 3D printing the Zoetrope. [Right] My second attempt at the Zoetrope.*
*[Left] 3D-printed Zoetropes from Alan Price, Bruce Evans, and myself. [Right] My 3D-printed Zoetrope.*
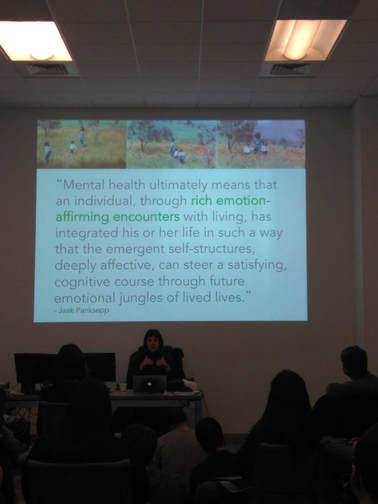
During the week we also had a visitor from the University of South California (USC) who was showcasing her work from being a professor there. She had many aspects of virtual reality healing and gaming, but also a good degree of experimentation of getting disabled people to utilize technology in gaming as a healing medium to either their physical therapy or mental state.
I unfortunately didn't have enough time to get to speak with her about this quote that I took a picture of. I think that it would relate back to my current philosophical research work and getting my audience to interact with what I am presenting them. Human tech week definitely got me thinking outside of my comfort zone, but not too much that I didn't feel especially apprehensive to do the projects. I think that is the main point that they were trying to explain to others; humane tech is tech for anyone to experience and experiment with.
Relevant Sources:
This week I researched some different tutorials that would be useful in the creation of the animated short at hand. I think the curve tools are something I would like to investigate further and their usefulness towards creating assets more effectively in the long run.
*[Left] Using the curve tools as a creation tool. [Right] Using the new MASH tab for creation along curve tool paths.*
Questions Raised & Needs:
This week I plan on taking my animation skills further, and relaxing a little more. It's spring break, and it is well deserved! I hope everyone else has a good spring break as well. I do not have any plans, so the plan is to create and have some free time to explore my creative output in Maya and how I am going to incorporate the findings of the week into my animation. I assume having some sort or relocatable aspect of Human Tech week would be necessary to include in this animation. It seems like the right thing to do, but to also consider when asking more metaphorical questions to an audience. As for the week, I enjoyed all of the different events, and expect to upload some different photos of the Zoetropes I printed, as well as the other attempts from different classmates. -Taylor Olsen *Rough animatic for "I Am."*
Approach: This week I utilized my time attempting to convey my approach for this animation. I spent some time making decisions for myself about this animation and it's meanings behind the arbitrary imagery. I considered a different approach to the representation of animated cinema apparent in the animatic. I also considered changing my topic altogether, as a reading from the week prior mentioned finding relevance in our works between others, making the work feel more wholesome and represented in a more compelling light. My attempt fell short I believe, and have had some time for self-reflection about the animation as a whole. Choices Made: I don't believe that I conveyed my approach correctly, and that made me question even doing the animation at all. But, I came away with taking my findings from experimenting with having animated content in Maya rendered into a 3D scene. But also, having my content "fit" into the scene, and feel like it was also a piece that was necessary. It was ultimately a failure as I didn't get the 2D imagery to display in the rendered space in Arnold or in the Maya standard render. I tested separate composite background imagery utilizing Maya and Arnold rendering. The left image is the Maya standard shader on the bottom layer, and the ambient occlusion Arnold rendering with a Color Burn layer style on top. The opposite for the other, except with an overlay layer-style in Photoshop for the Maya layer. I tried to find the best compositing for both the layers that looked something towards my intended visual outcome.
*Arnold (Top) Maya (Bottom)* *Maya (Top) Arnold (Bottom)* I fixed up my chuck rig as well and tried to fix some minor issues, but also attempted to get the TIF test video with transparency to show up transparent in front of a Maya standard shader. In the examples below, we see that I got some sort of transparency from the background going, but not the portion that I wanted to show.
*Video attempt at using TIF sequence* *Video showing minor tweaks and layering fixes to Chuck* I've since then found some help from a fellow classmate who says he knows how to make the background not interfere with the transparency or the shadows appearing as the shape of the plane.
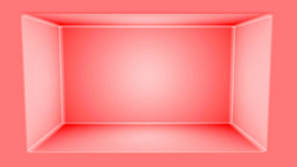
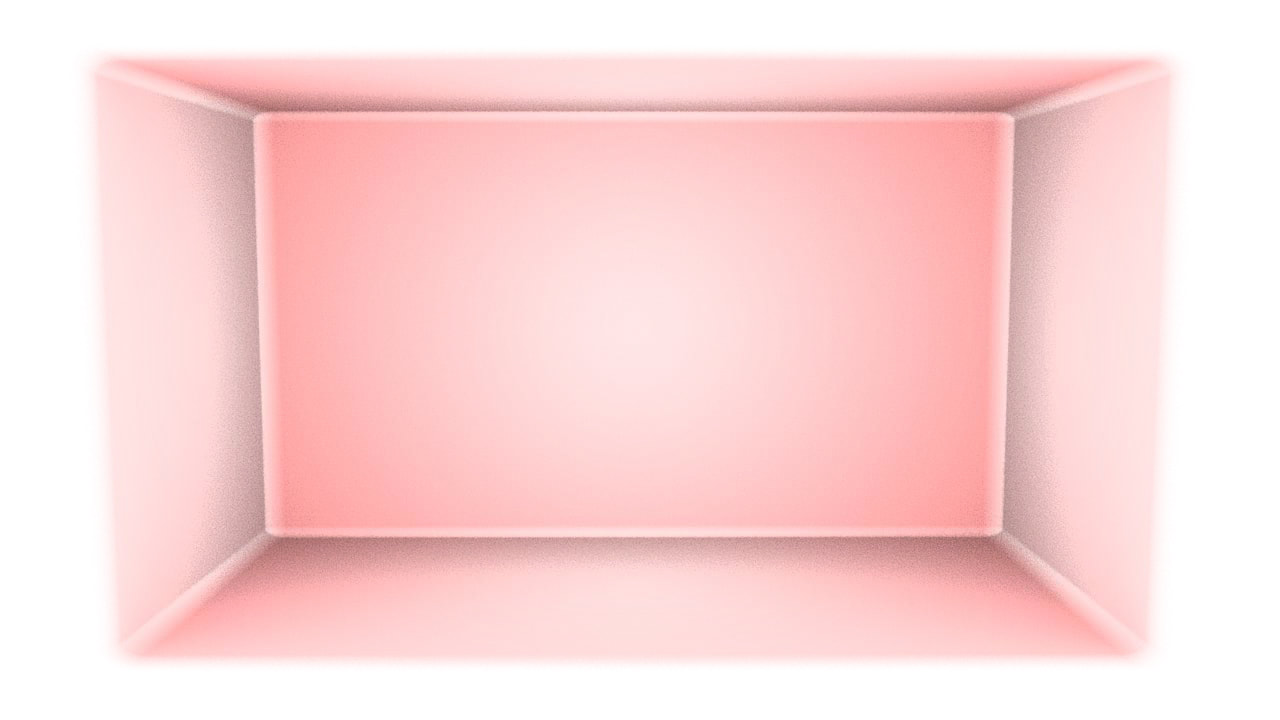
*Attempt 1 & 2 of using transparency in Maya to show the red square on top.* Relevant Sources: I happened to find an online forum where a person had solved the issue with the transparency rendering with Arnold in Maya: https://forums.autodesk.com/t5/maya-shading-lighting-and/transparency-renders-black-in-arnold/m-p/6790341?lightbox-message-images-6790341=308962i77F1FB6077CF012C#M18539 This link here is what I found that could help me for my next steps (If I happen to go through with the animation). As well as another link with people having the same issue: https://forums.autodesk.com/t5/maya-shading-lighting-and/maya-2016-how-to-hook-up-alpha-channel-in-psd-node-and-see-it-in/td-p/5750901 But, in the course of writing this, I had an epiphany of how to solve the issue using the node editor: 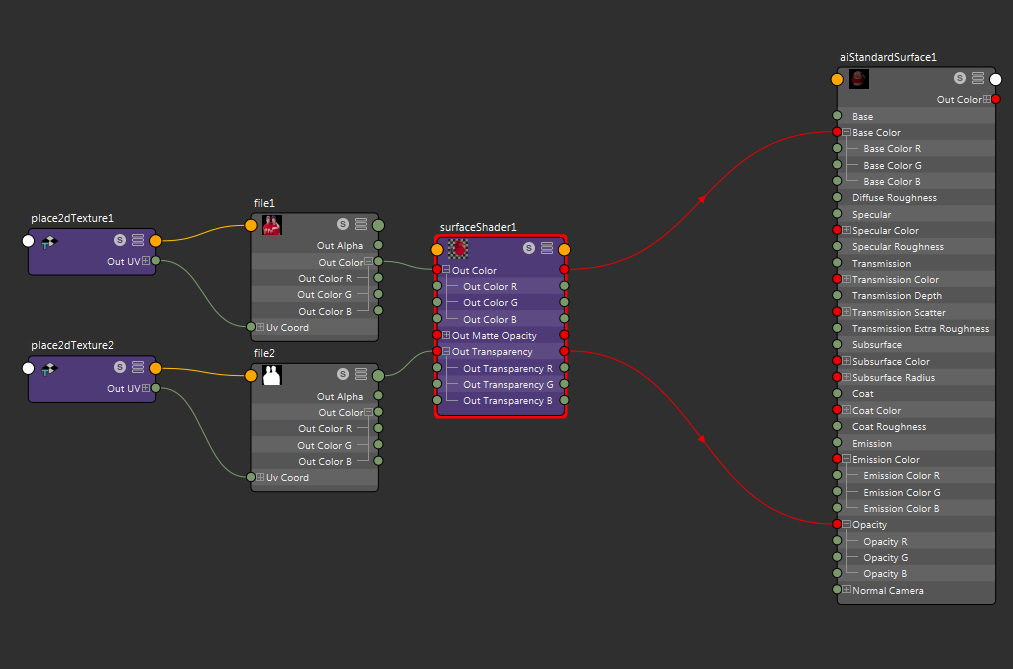 *Image of worked out Arnold Transparency Shader* [Uses PNG] Shown above is the finalized texture output for Arnold to allow transparency in it's render software. I have not tried it in tiff sequence yet, but it appears that I have for the moment solved part of the issue I am having. I imagine I'll have to take my rendered tiff sequence files and make a version that also has the Black and White alpha channel map that fixes the issue. This should also mean that I can use a .PNG sequence (something I am more familiar with) as the final output for the 2D animated character.
*Block (left) Transparent Map [White for visible]. Block (Right) Color Map [Background transparent].*
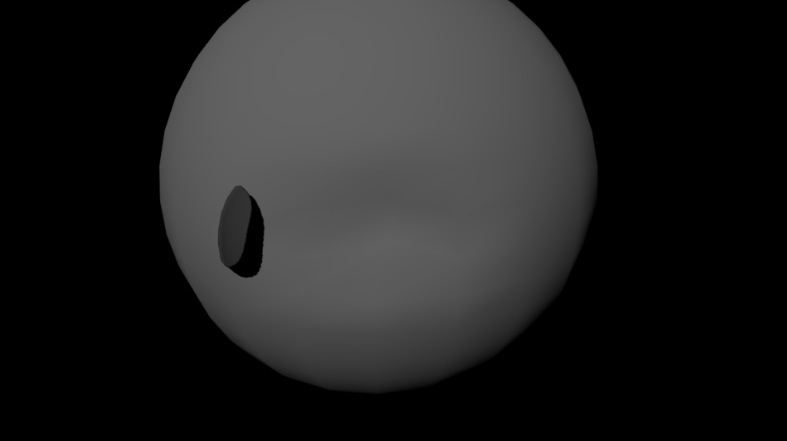
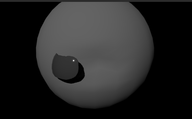
*Using a PNG sequence with the node setup for moving 2D objects over top a sphere.* Questions Raised & Needs:
Now that I have figured out how to utilize the transparency map, this animation shouldn't take long to get going. If I have my animatic down to a point next week that I feel comfortable using it as the base, I'll immediately start trying to integrate a rendered PNG sequence of chuck into a Maya scene. This way I can make sure that it works (first off), and secondly test whether or not moving the camera will be an issue on the flat sequence area. I also want to test lighting on these 2D moving image planes in the Arnold render, just to make sure that it's not messing with the geometry in a weird way. I think I'll also play with the glass-shader in Arnold as well as how the transparency appears behind the glass, and to also see how it warps (if it works). -Taylor Olsen |
||||||||||||||||||||||||||||||||||||||